To get my mojo started I decided to have a look at Darcy's journal post for this month. The deadline is looming and I remember when she posted I thought there were some really fun elements. Little did I know how fun. Here's my take.

My journal pages are dark cream so I started by giving it a wash of white acrylic mixed with a touch of blue. For the whole of this project I have only used acrylic paint in white, black, a pale blue called Sky and Burnt Umber and a little Black Archival. I mixed white and sky and spritzed. Added some more sky and spritzed. Added some black and spritzed. Added some more black and spritzed. Then added more black and spritzed.

While waiting for paint to dry I embossed a metal sheet. These are coloured on the front but silver on the back. I worked on the backside. I embosssed with Sizzix Bingo, Notebook and Patchwork folders. Then I coloured with sky, burnt umber and black. I rubbed the paint off the raised areas while it was still damp to expose some of the silver metal

I added stamping to my page using LOTV Romantic Bits Background stamps. I wanted some lines as well so I added black archival to the back of my embossed metal on the Notebook section. It gave these pleasing lines.

I traced round my hand and cut a mask

I cut my embossed metal into strips
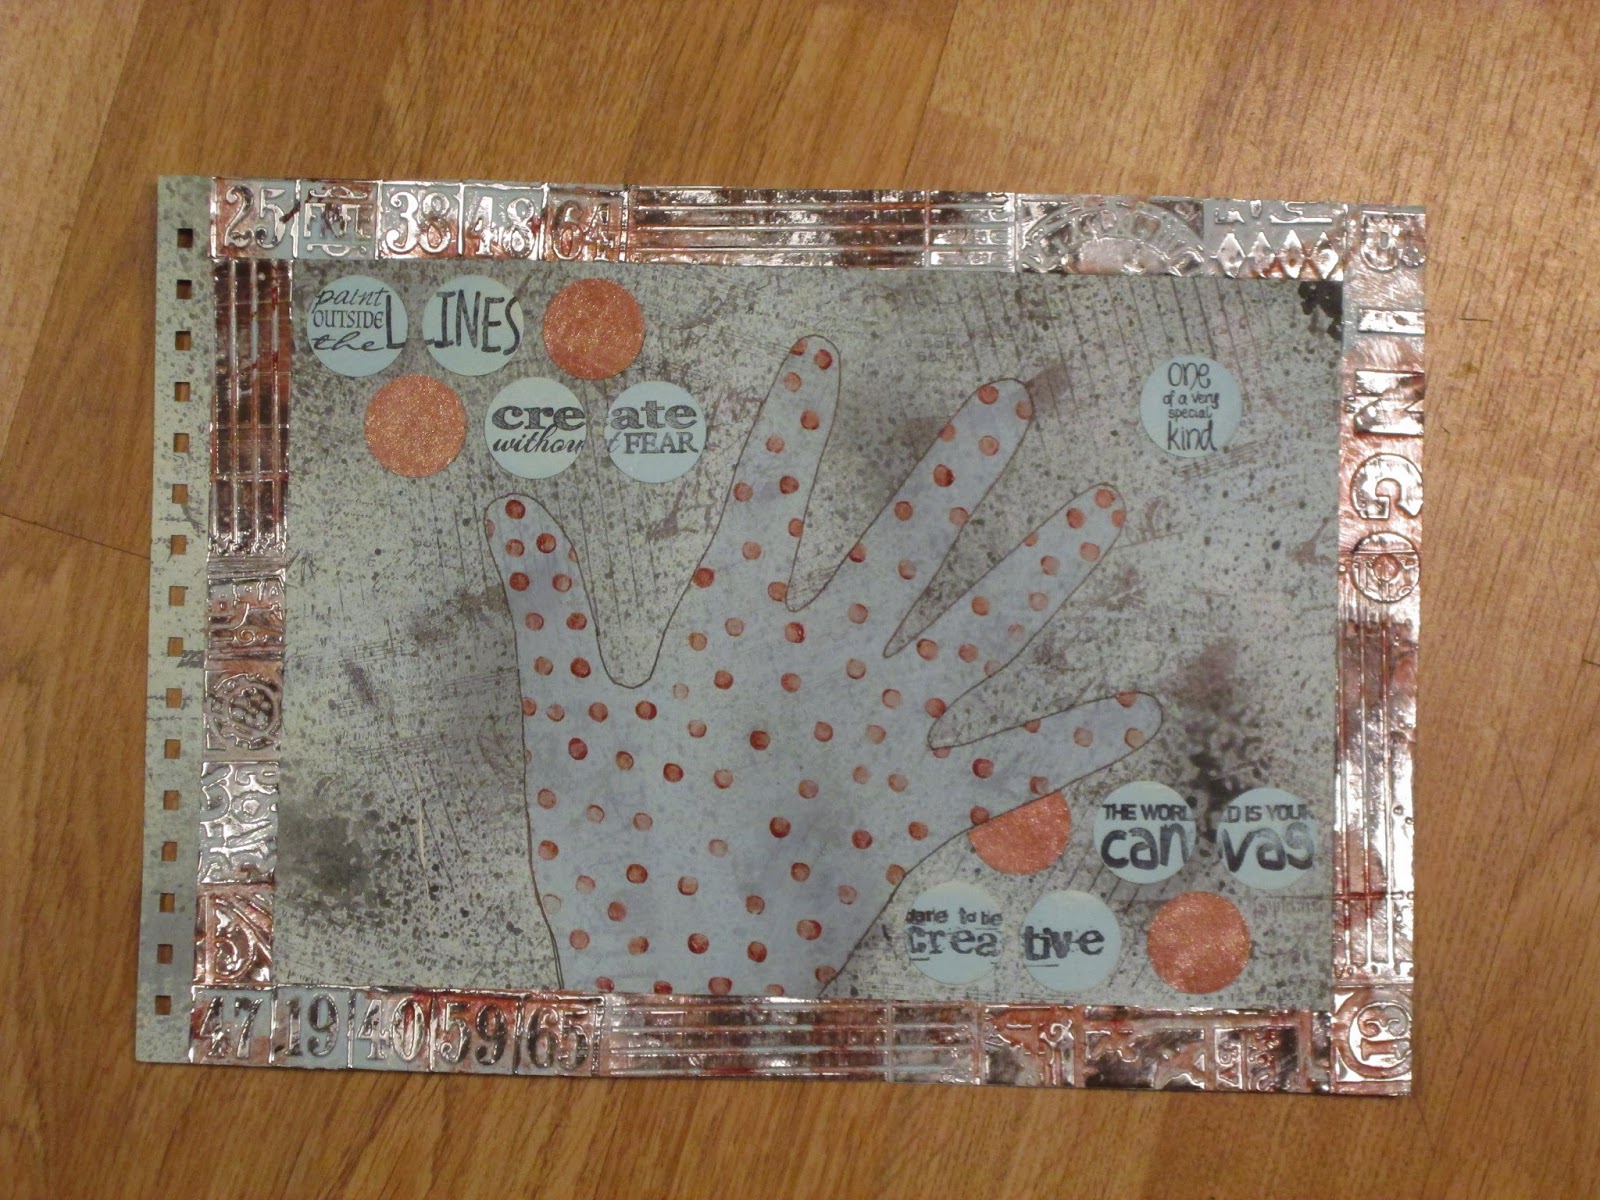

Paint Outside the Lines and Create Without Fear

The World is Your Canvas and Dare to be Creative

One of a Very Special Kind. This a PaperArtsy stamp. Love the embossed word Bingo.
Are you still with me?? I loved the embossed metal. I loved making the hand mask. I think all these sentiments are ones we should all keep in mind. There seems to be a lot of focus on back to school at the moment. I've learnt a lot here. Check Darcy's post and give some of these fun techniques a go.
Joining the fun at
PaperArtsy Month 7 Journalling with Darcy
Add a Little Dazzle Dazzling Diva Challenge 39
STAMPlorations August Challenge - Stamps and Diecuts
Simon Says Stamp Wednesday Challenge - Back to School
Eclectic Paperie August ePlay Challenge - Embossing
Papertake Weekly - To Die For
Thank you so much for your visit and for reading this long post. Hugs
The day after the night before Hi. I've been looking at this on and off and it just seemed to need a little something and since I seem unable to move to anything else I got out the black pen and doodled a little
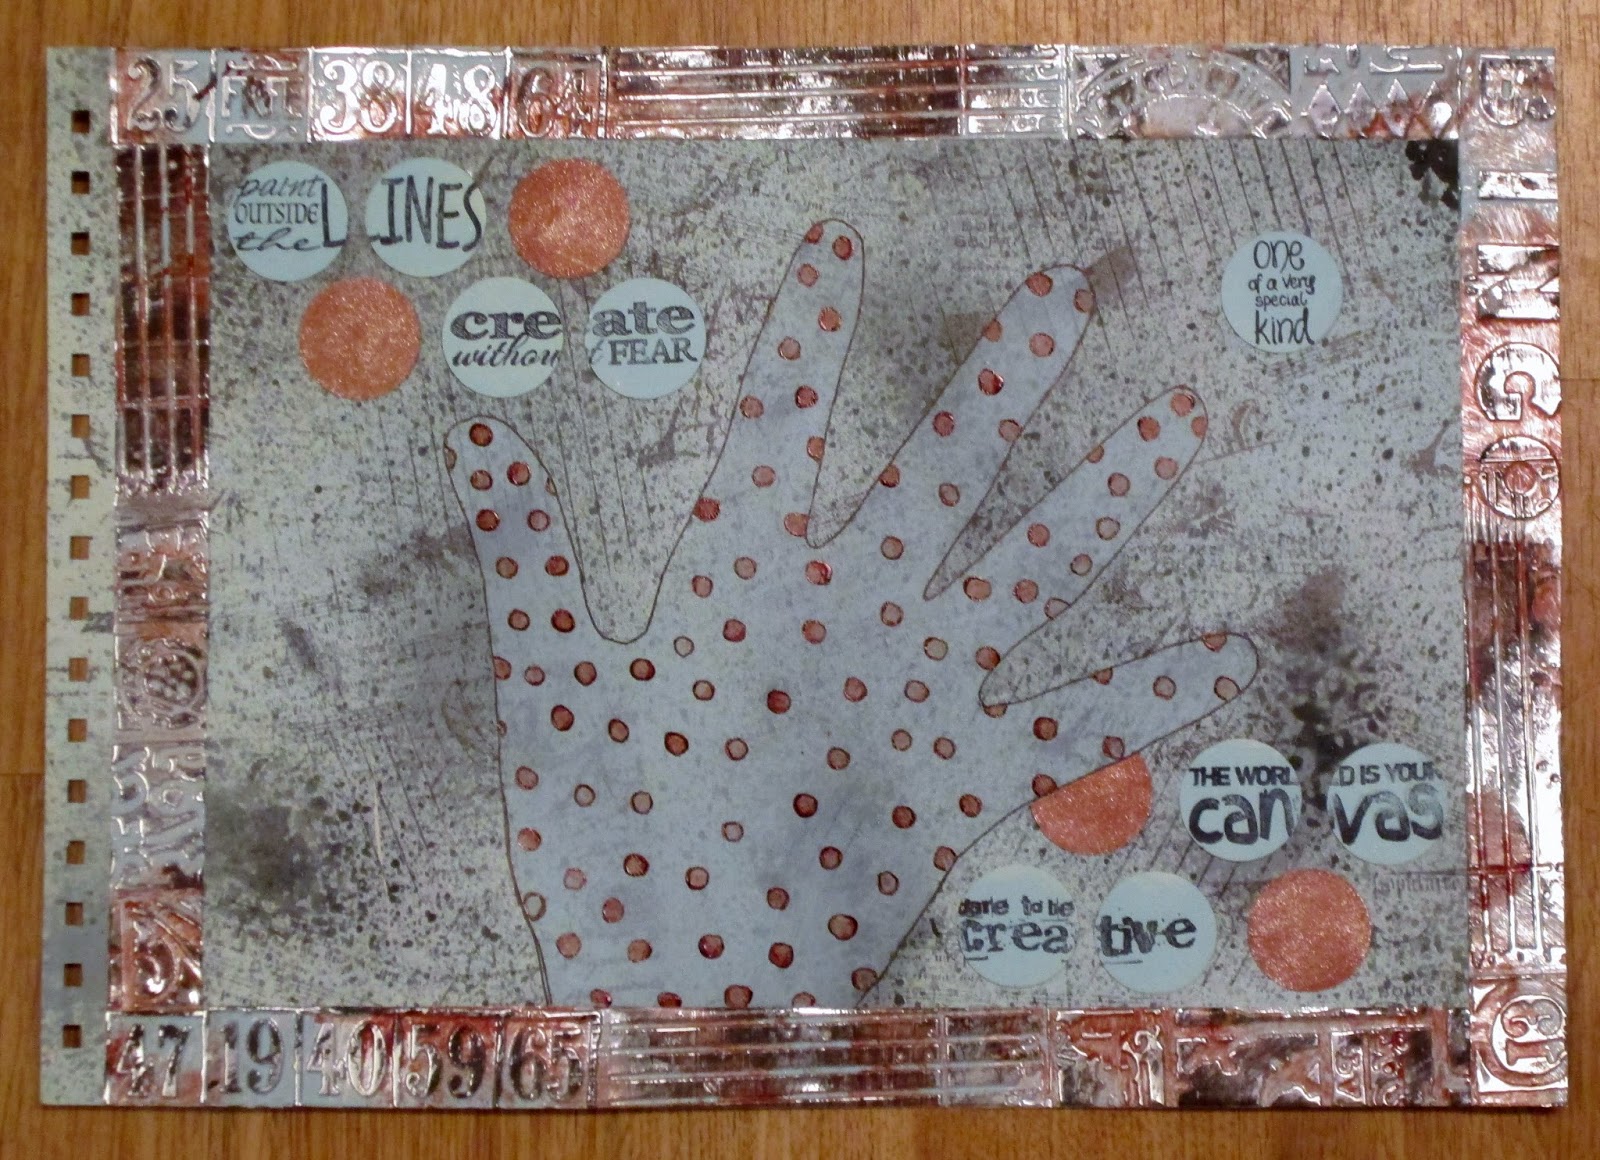
I've just gone round all the dots with black pen. Now it looks like I have a serious case of age spots but it makes it seem a bit more solid. Happy now. Hugs. Ooh, and the brain cell is already moving on to other things...................
10 comments:
What an interesting, artistic project! I love your use of STAMPlorations stamps. Thanks for joining us at STAMPlorations!
Oooh! I love the way you've embossed and coloured the metal. It looks amazing. I keep seeing art journal pages and getting really inspired and then forgetting to have a go! You've inspired me (just need to do something now 😉 ) x
This is just amazing, Gail! You found great color combinations in the few you used! Lots of yummy layering and, well, the addition of the metal is "da bomb" in my book! Great project!
What an awesome design, Gail! Love what you've done with the metal strips...what a great look! So happy you joined us at the Dazzling Divas Challenge!
Such a great page, your metal edges turned out brilliantly. i love how you spread out the text on the spots, really good idea.
Wasn't it fun? Lots of work (just stamping and glueing the circles took forever) but lots of things to learn. Love your version.
great metal work & your colours are brilliant
Hi, Gail! You are super creative, and did an amazing job with this. I'd like to invite you to stop by Word Art Wednesday for our weekly Anything Goes challenges. We have lots of fun, and we offer at least two great prizes every week. This week, one of our prizes is a $15 for wool felt from Prairie Point Junction. I hope you will stop by when you are able, and play along in our challenges. It would be a blessing to have you play along!
Hope to see you soon!
Karen
Word Art Wednesday
www.wordartwednesday.blogspot.com
hi Gail! your are very talented..great technique and design...luv the metal! So glad you played along with Simon Says Stamp Wednesday Challenge!
sparkle & shine *~*
Love the metal. So much texture. thanks for playing along at eP. {{hugs}}
Post a Comment