Showing posts with label Doodles. Show all posts

Friday, 11 July 2014

Meet Teddy

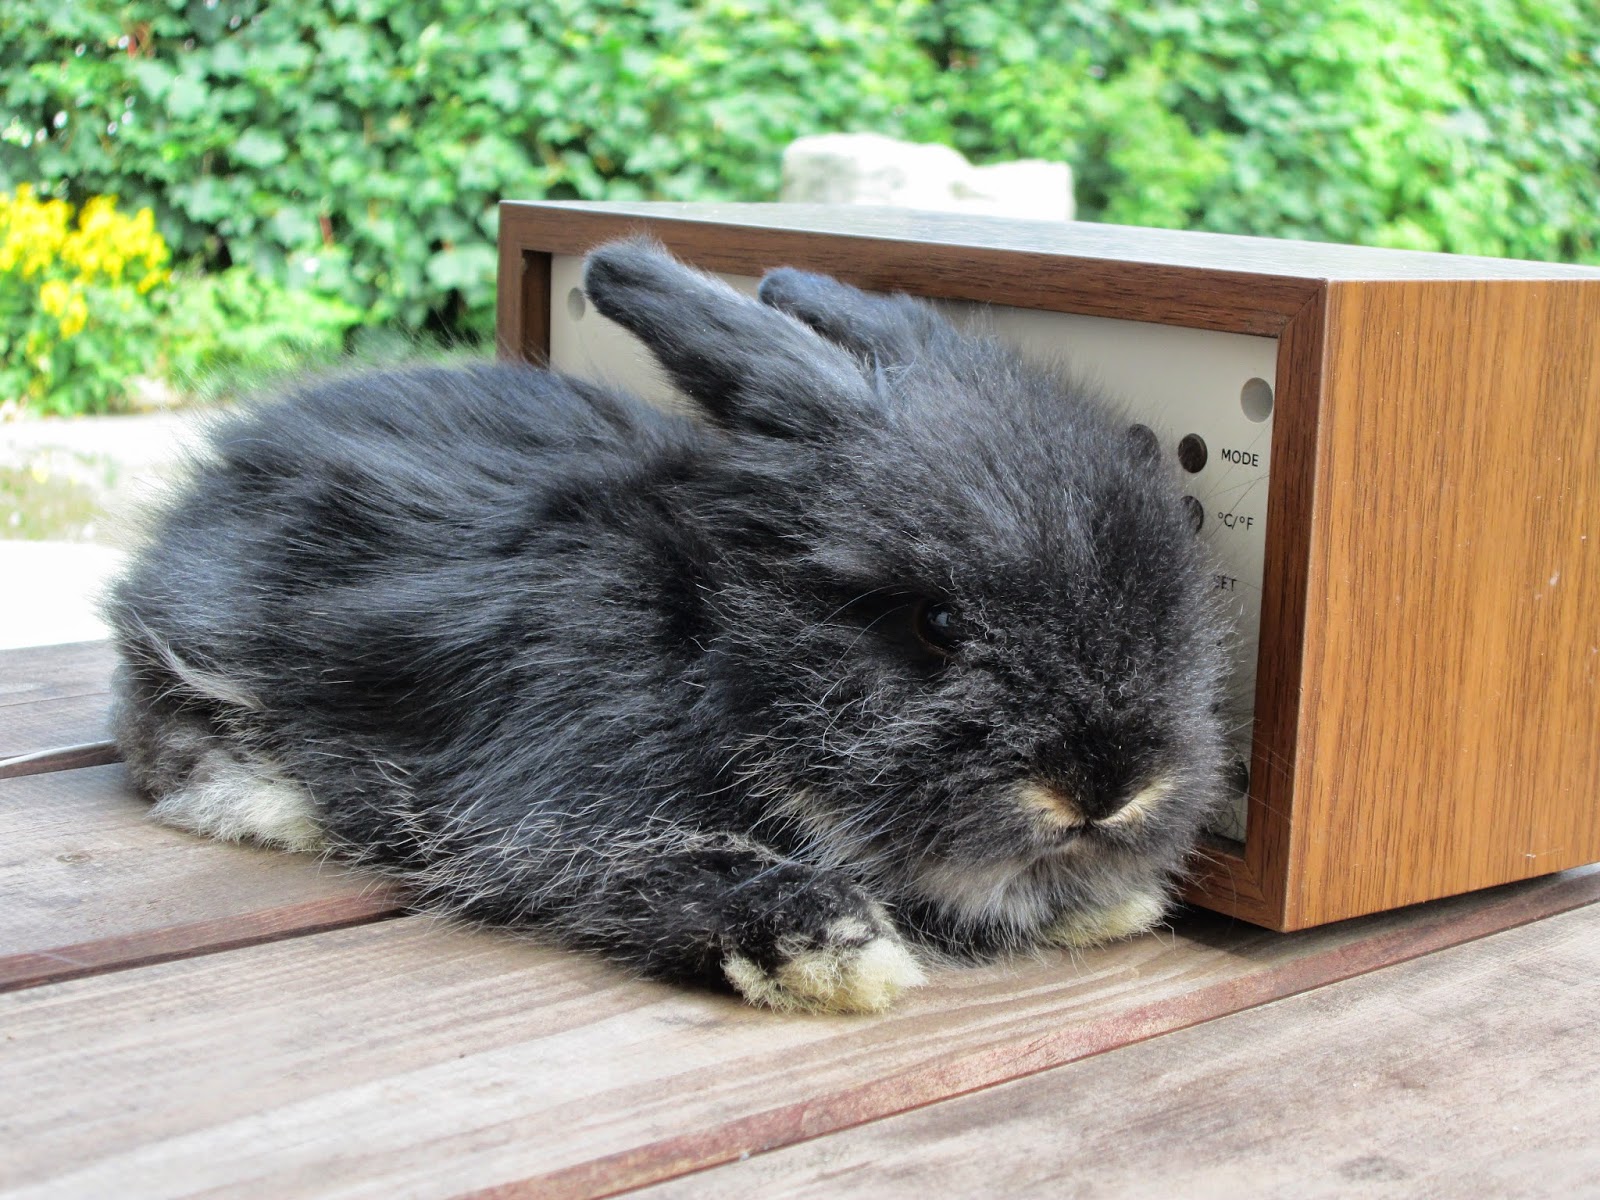
Hello.  Welcome.  A while ago I said I had new baby rabbits and Laura, hi Laura, asked to see pictures.  When they were born, quite honestly, they were ugly!  Blind and naked, and because most of this lot are white-ish they just weren't pretty.  But now they are gorgeous!!  Meet Teddy


He's a Lionhead rabbit.  It's really hot here at the moment and my furry friends aren't enjoying it.  Mostly they are just flat out.   I got Teddy out to sit with us in the shade and was expecting a bit of action but he just went and lay against the radio.  When I moved him he just went straight back to the radio.  Obviously he has musical bones


Here he is with his siblings.  Cute or what!!  More photo's soon.  I have another Lionhead litter but they are younger, at what I call the Volvo stage.  Long and rectangular looking.  They are starting to move around a bit now so soon they will fluff up and be just too gorgeous.  I'll try and get them to pose as well.  More difficult than photographing a card.  That said, maybe you came for some crafting??.........

Over at PaperArtsy Lin Brown made a lovely mini journal.  I loved the colours she used so decided to make a card in the same style.  At least that's where I started.........
 

I started by stippling three shades of yellow acrylic onto my card.  Lin was working on canvas and I wanted the appearance of texture on my flat card.
 

Then I stamped with Hero Arts Word Pops background stamp and Walnut Stain Distress ink
 

I used a flower stamp and white paint, but it was too detailed and I had to wipe it off quick.  Of course, I hadn't heat set the DI but luckily it didn't fair too badly.  My little accident happened bottom left but the script is still visible.   Then I resorted to PaperArtsy ELB04 stamp set with white acrylic.  Much better


More PaperArtsy stamps with black archival 


Then I got the doodle bug................

My card joining the fun at

PaperArtsy
Stamping Sensations - Summer Blooms
Simon Says Stamp Monday Challenge - Start From Scratch
Hero Arts - One Layer Challenge

Thanks for dropping by.  Hope you are having a lovely summer.  Or maybe for those on the other side it's winter!!  How bizarre......   Hugs

Sunday, 23 February 2014

It's All In The Technique

Hello.  Welcome.  I should have been crafting.   OK I probably should have been doing something else very mundane, but instead I did a little retail therapy a la net.  I recommend it on a wet Sunday afternoon, especially if you are lucky enough to get some bargains.  Well, they felt like bargains when I put them in the shopping cart.  Hopefully they will still feel like bargains when then arrive and I unpack them.  I do occasionally unpack my little crafty packages and think "Why did I order That??".  Is it just me????

Inspired by Ellen Vargo over at PaperArtsy I really wanted to have try some of her bold collaged ideas.  Darcy made a comment on my AJ post, hi Darcy, that it's the technique not the products, so I decided to have a go after a root through the stash. 


I started by brayering fresco finish Limelight and Butternut on a piece of card.  Then I grabbed a couple of shades of yellow.  I loved the citrussy mix but decided to add orange and ocher as well.  I love how the limelight seems to give a lovely glow in the background.  Quite wonderful. 


I cut up my brayer card and stamped in DI Barn Door using stamps from PaperArtsy Kids Plate 3, USFD1, SIBM4 and LPC003. 


I didn't know deli-paper that Ellen referred to but figured it was maybe translucent or semi-translucent.  I decided to search through the inked scraps box and see if there was anything suitable.  I found a piece of white paper I had covered in sentiments and decided to brayer it with a thin coat of ochre.  Whilst having a moment of brayer wild abandon my brayer fell apart!  pause, mouth open, huh!, uhhhh.... We can rebuild it? we have the technology?  I hope.  Yep, up and brayering again.  Gosh, big sigh of relief. 


Then I doodled


and doodled


and doodled.  A pile of upside down skateboards maybe??


and doodled.

Joining the fun at
PaperArtsy
Country View Challenge 12 - Painty Pleasures 

Thanks for your visit.  Hope you are having a creative weekend.  Hugs

Friday, 21 February 2014

Trainee DG

Hello.  Welcome.  Woke up a bit early this morning all overcome with delusions of being a Domestic Goddess.  Decided to make school buns (that's sweet bread with vanilla cream, icing and coconut on top).  Then decided we needed chocolate cookies as well.  Why not?  Why not?  Because I want to play with my art journal page I started in response to Darcy's post here.    I've been doing a bit but dithering as well in the hopes the new stamps I ordered might have made it, but alas......   And then I checked the post and realised I only have a few hours to get from sanded layers to somewhat complete!!!   And I got to watch the cookies!!!!!!   Obviously I only make trainee Domestic Goddess.


Just to let you know I have none of the stamps Darcy used and very few of the paints, oh yeah, no grunge paste either.  I am convinced this would have been better if I had had the same products but use the stash is my aim for the year and I'm sure this project entitles me to purchase some of the new limited edition fresco paints LOL.  I started with a spiral bound AJ I have, pages 22 x 31cm.  Not sure if that's a standard or just some wild and wacky size.  I took it apart to worked on the page as I wasn't sure how it would stand up to all the paint and sanding.  Here's the result of using masking tape, applying tinted texture paste and stamping in it.  Nice.  Stamps are PaperArtsy from SM12 and USFD3.


14 layers of paint says Darcy.  Now why would I need 14 layers??  Oh, wow.  Here's my approximation of Darcy's colours with my bog standard acrylics, although I did go a bit mad orange and ochre on my bright layer.  I've done some sanding, middling to successful and also tried the mask behind the paper technique.  On this picture that's most visible on the RHS and top left.  I used punchinella behind my page and must admit was pleasantly surprised with the result.  My texture squares, ok almost squares, got a bit flattened in the joy of the process.  


Close up of the stencil texture rubbed through from behind


My favourite corner.  Not only are these colours gorgeous but the texture here is fantastic, like an old plaster wall all rough and flaky.  All those paint layers work fantastically.


Darcy used her fab new stamp borders.  They are top of the wish list (wish, wish, everything crossed) and a lovely girl silhouette.  Loved the black and the pop of colour.  These cute Signature Dies duckling border dies arrived from Joanna Sheen yesterday and I decided to use them here.  I drew a wiggly border with a black galaxy marker to join the elements.  Then I was thinking of doing some tangles but loved Darcy's pop of colour so grabbed the fresco finish limelight and filled in the bits.  Then I decided it needed a similar border at the top.  Then I hit the wall and as much as I hate to post a not totally finished project I would hate more to rush and add something I later regret.  So that's it folks.  Darcy will be posting the next in this series soon and maybe it will give me the ideas I need to complete this as well.  Or maybe it needs to just sit a while. 

My AJ page joining the fun at
PaperArtsy - Darcy Journalling Month 1
Country View Challenge 12 - Painty Pleasures 


Thanks for dropping by and for your comments.  It did make me laugh that on my last post the new work bench made by my man got more comments than my card.  I agree, it definitely was the more important piece of art in that post and I am making good use of it.   Take care.   Off to knock up a chicken biryani to keep the builder of workbenches happy.  Never know, might be needing some new shelves LOL.